Imagine infusing your home with the charm of a lush green mountain, featuring tiny plants, artistic decorations, and a slice of tranquility right on your tabletop. A Green Mountain microlandscape is a delightful and eco-friendly project that combines creativity, natural beauty, and a hint of mindfulness.
In this blog, we will guide you through the concept of microlandscapes, help you select the perfect plants and decorations, and show you how to create your own miniature green mountain paradise.
What is a Microlandscape?

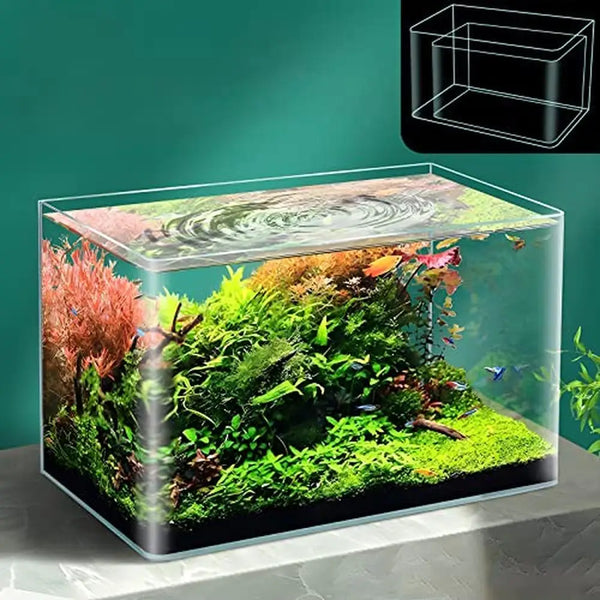
A microlandscape is a tiny replica of a natural scene, crafted to reflect the beauty of forests, mountains, rivers, or valleys. These small-scale landscapes incorporate live plants, rocks, soil, and decorative features to form a lifelike diorama that can easily fit in your hand or a small container.
Why Choose a Green Mountain Theme?
The layered greenery, rugged textures, and gentle elevation changes capture the natural beauty of a mountain. Mountains symbolize strength, stability, and our bond with nature. With features ranging from moss-covered slopes to flowing pebbles, the creative possibilities are limitless.

Essential Components of a Green Mountain Microlandscape
To craft a microlandscape that thrives and looks stunning, you'll need the following components:
- Plants
Choose plants that mimic the natural look of mountain flora. Focus on small, slow-growing species that require minimal maintenance.
Mosses:
Perfect for ground cover. Types like sheet moss or cushion moss give a lush, verdant appearance.
Mini Ferns:
Add an airy, forest-like texture to your landscape.
Succulents and Cacti:
For a rocky, alpine look.
Bonsai or Dwarf Trees:
If your container is large enough, they make excellent centerpieces.
- Substrate Layers
The base of your microlandscape requires proper layering for plant health and stability:
Pebbles or Gravel: A drainage layer at the bottom.
Activated Charcoal: Helps prevent odors and keeps the environment fresh.
Potting Soil: A nutrient-rich layer to support plant growth.
- Hardscape
Natural elements add structure and a mountain-like feel to your design:
Rocks: Use flat slate, quartz, or river rocks to simulate cliffs and ridges.
Driftwood or Twigs: Represent fallen trees or rugged alpine terrain.
- Decorative Items
Bring your mountain to life with tiny decorations:
Miniature Figurines: Tiny hikers, animals, or huts can tell a story.
Water Features: A small dish or resin to simulate lakes or streams.
Lighting: LED fairy lights or spotlights enhance the landscape's visual appeal.
Step-by-Step Guide to Building Your Green Mountain Microlandscape

Step-by-Step Guide to Building Your Green Mountain Microlandscape
Step 1: Gather Your Materials
Before starting, ensure you have all the required components, a container (glass terrarium, tray, or shallow bowl), and essential tools like tweezers, scissors, and a spray bottle.
Step 2: Prepare the Base
- Layer the Drainage: Add a layer of small pebbles or gravel, approximately 1–2 inches deep, at the bottom of your container.
- Add Charcoal: Spread a thin layer of activated charcoal over the pebbles.
- Top with Soil: Add potting soil, shaping it into a gentle slope or mound to form the mountain’s foundation.
Step 3: Arrange the Hardscape
- Position rocks strategically to mimic cliffs, slopes, and ledges.
- Embed larger rocks into the soil for stability.
- Use smaller stones to create pathways or outline a stream bed.
Step 4: Plant the Greenery
- Start with mosses to cover the soil, pressing them gently into place.
- Add ferns and succulents on ledges or flat areas.
- Place bonsai or dwarf trees as focal points on higher elevations.
Step 5: Incorporate Decorations
- Add miniature figurines for personality.
- Create a water effect using clear resin or a small glass dish.
- Position lights to highlight key features.
Step 6: Final Touches
- Mist the entire landscape to settle the plants and clean the hardscape.
- Ensure all elements are securely in place.
Caring for Your Green Mountain Microlandscape

To keep your microlandscape thriving:
- Watering: Mist lightly 1–2 times a week. Adjust based on the plants' needs.
- Light: Place in bright, indirect sunlight to prevent plant damage.
- Pruning: Trim plants periodically to maintain the aesthetic.
- Cleaning: Remove debris and clean the container to prevent mold growth.
Tips for Personalizing Your Landscape
- Experiment with Shapes: Try a jagged peak or a rounded hill for a unique design.
- Add Seasonal Themes: Use seasonal decorations, like snow-like powder for winter or tiny flowers for spring.
- Incorporate Color: Use colorful succulents or flowering plants for visual contrast.
Why Make a Microlandscape?

Eco-Friendly Hobby
Building microlandscapes encourages sustainable practices by using natural, recyclable materials and growing plants.
Mindfulness and Creativity
The process is calming and allows you to channel your creativity into a rewarding project.
Unique Decor
A Green Mountain microlandscape adds a touch of nature to any indoor space, making it an excellent conversation starter and decor piece.
Creating a Green Mountain microlandscape goes beyond just being a fun project—it's an opportunity to connect with nature and nurture a slice of peace within your home. By selecting the perfect plants, substrates, and decorative elements, you can craft a vibrant living piece that will provide joy and calm for years ahead. Are you ready to embark on this journey? Collect your materials and let the beauty of the mountains guide you!
Tell us - Was this article helpful? Please comment your thoughts below!
If you have any questions regarding this article, please DM us on Instagram or Facebook (@plantedpro), or email us directly at hi@plantedpro.com so we can assist you - questions cannot be replied to here.
![Green Mountain - Microlandscape [Including Internal Plants + Decoration]](http://plantedpro.com/cdn/shop/articles/GridArt_20241117_202046513.jpg?crop=center&height=800&v=1754909977&width=1600)



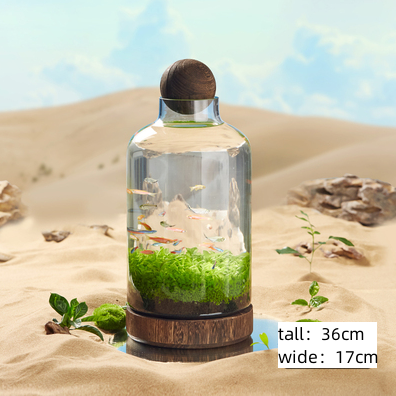
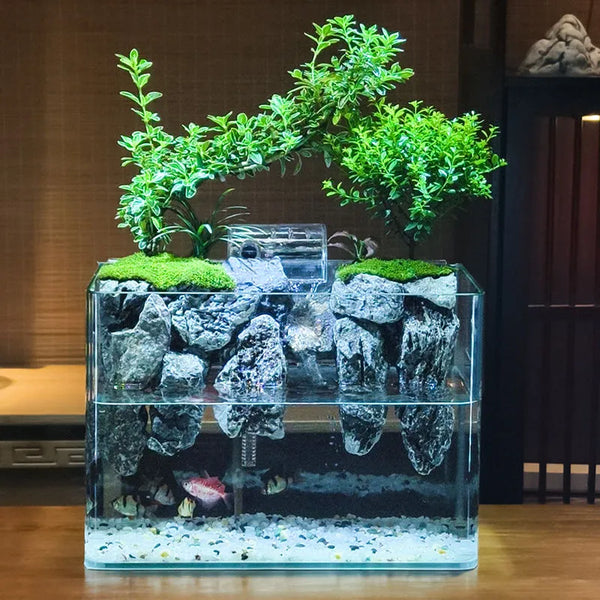
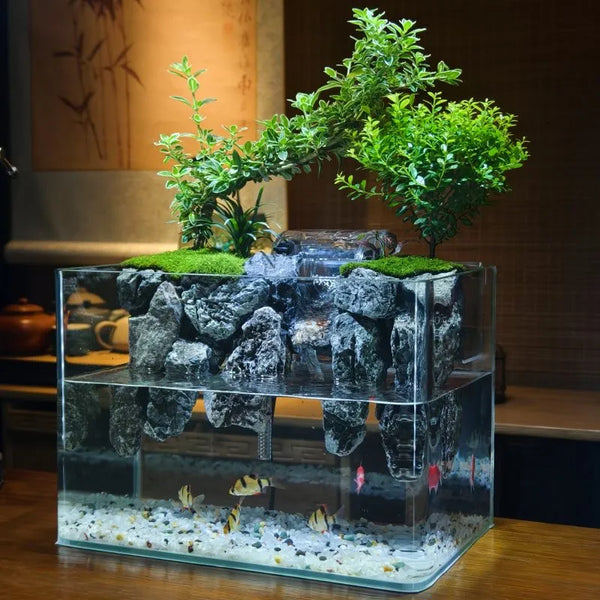
![Pavilions Moss Microecological Landscape [Including Internal Plants + Decoration]](http://plantedpro.com/cdn/shop/files/Pavilion_Moss_Planted_Pro.png?crop=center&height=600&v=1745762480&width=600)
![Tree of Life - Moss Microlandscape [Including Internal Plants + Decoration]](http://plantedpro.com/cdn/shop/files/11_900x_e50e9d85-02a0-4773-944e-d2cd82674841.jpg?crop=center&height=600&v=1730216177&width=600)
![Green Hills - Moss Microlandscape [Including Internal Plants + Decoration]](http://plantedpro.com/cdn/shop/files/20240910013738_1080x_2859d709-be4d-4f60-a2ff-198aafae9f77.jpg?crop=center&height=600&v=1730215869&width=600)
Leave a Comment